This document describes how to connect to the Steadfast Networks VPN server for accessing the Internal Network and IPMI remote server management.
Requesting Access
Access to the VPN is freely available to all customers with a service that is provides IPMI or Internal Network access. To request access, your name must be listed as an authorized contact in our management portal, or the request for your access must come from someone in that list.
Each computer and person that will connect to the VPN should have its own set of credentials.
Access requests should include the following information:
- Client ID
- Authorized User or Device Name
- Authorized User's Email Address
An email address and client ID are required. You must also provide either a user or device name to identify the credentials.
Please send the request via email or our helpdesk to the Tech Support department from a person on the authorized contact list for your account in our management portal. Once the request is received, it will be reviewed within 1 business day, and the credentials will be made available to you if approved.
Revoking Access
In case VPN credentials are compromised or you need to revoke access from a person who is no longer authorized, please contact our Tech Support department via email or our helpdesk. Please indicate if the situation is an emergency and our team will escalate the request to be handled as quickly as possible.
If you terminate your services with Steadfast, all VPN credentials will be revoked as part of the account closure process. We also may revoke VPN credentials of any user found to be abusing the service, or if we suspect a compromise. We will make every attempt to notify affected users if we revoke credentials proactively.
About the VPN Service
The VPN server is running software provided by the OpenVPN project. More information about this project is available at: http://openvpn.net/
The VPN provides access to servers and services that are accessible on the Internal Network and to IPMI services for Dedicated Servers. It is supported on Windows 7 and later, Mac OS X 10.7 and later, Linux, and mobile devices running iOS 9.0 or Android 4.1 and later.
Please note that though the Internal Network and IPMI are both accessible using the same VPN service, it is not possible to communicate between IPMI devices and the Internal Network directly. The VPN has the ability to reach both networks, but the networks are not otherwise connected together.
Internal Network
The Internal Network is a service included with Dedicated Servers and Cloud accounts, and available to Colocation accounts upon request. This is a separate network that links servers and services within Steadfast to one another, but is not accessible from the Internet. You can communicate with your servers' Internal Network IP addresses and transfer data for no additional charge. Please note that bandwidth on the VPN is limited and performance will be lower than it would be when accessing your server over the Internet directly.
IPMI
IPMI is a service provided with all Steadfast dedicated servers. It allows you to remotely access your server's keyboard, video, mouse (KVM), and power controls. It works with most modern web browsers running on Windows, Mac OS X, and Linux. Remote KVM requires Java to be installed on your computer.
Your server's IPMI address can be found in the management portal Devices list or your server's welcome email. It can be accessed only when your are connected to the VPN.
Connecting to the VPN
Your VPN credentials will be delivered in a ZIP file. The software required to use them is not included. It must be downloaded separately as indicated in the following sections. Please locate the section for your computer or device and follow those instructions. If you need assistance, please feel free to contact us for help.
Windows
Windows devices need to use the OpenVPN community client. Make sure you are running Windows 7 or later. If your computer is running Windows Vista or XP, you should not use the computer to access the Internet.
- Go to the following link to download the software: https://openvpn.net/community-downloads/
- Click the button that says "See Details" next to the top version in the list.
- Click the button next to the "Windows Installer" entry in the list which starts with the name "openvpn-install."
- Run the downloaded installer program to install the VPN client, selecting all the default options.
- Once the VPN client is installed, copy the "steadfast.ovpn" file from the ZIP file into c:\Users\<Your Username>\OpenVPN\config. Create this folder if it doesn't exist.
The VPN client will start automatically when you start up or log into your computer. The icon will appear in the system notification area (tray) when it is running: 
To connect to the VPN, right click the icon and click "Connect." The first time you connect, you may be prompted to allow OpenVPN to modify the firewall and add your user account to the OpenVPN Administrators group. Allow both of these actions or the VPN will not work properly.
While connecting, a popup window will appear with information about the connection attempt. It will disappear when the connection is finished. The icon will change to indicate the connection is active with a closed lock and green screen: 
Mac OS X (Tunnelblick)
MacOS X devices should use the Tunnelblick OpenVPN software.
- Go to the following link to download the software: https://tunnelblick.net/downloads.html
- Click on the "Stable" download and install it on your computer.
- Once installed, start Tunnelblick
- To install the VPN configuration, drag the "steadfast.ovpn" file from the ZIP file to the Tunnelblick icon on the menubar:

- Make sure you choose OpenVPN version 2.4.0 or later to avoid various known issues with VPN connections
To connect to the VPN, click the Tunnelblick icon on the menu bar and select the "Connect" option that matches your VPN profile. Once you have connected the icon will change from gray to black: 
Android Devices (4.1 or later)
Android 4.1 and later devices should use the OpenVPN Connect app from Play Store.
- Go to the following link to install the app from your Android device or a computer logged into the same Google account as your phone: https://play.google.com/store/apps/details?id=net.openvpn.openvpn
- Open the ZIP file and copy the "steadfast.ovpn" file to your computer
- Copy the "steadfast.ovpn" file to your device via your preferred transfer method
- Once the app is installed and the "steadfast.ovpn" is on your device, open the OpenVPN Connect app
- Tap the green plus button in the lower right corner

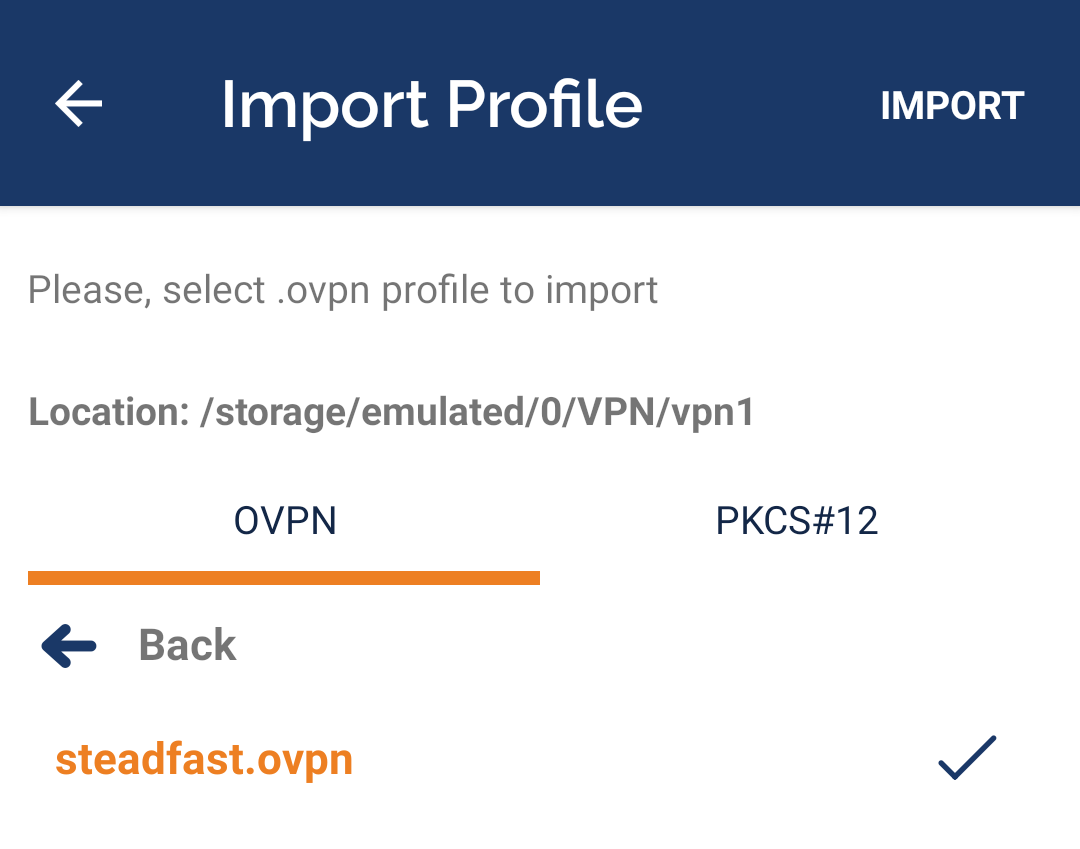
- Browse to the location on your phone where you saved the VPN configuration file
- Tap the "steadfast.ovpn" file in the list so it has a check mark to its right, then tap "IMPORT" in the upper right corner
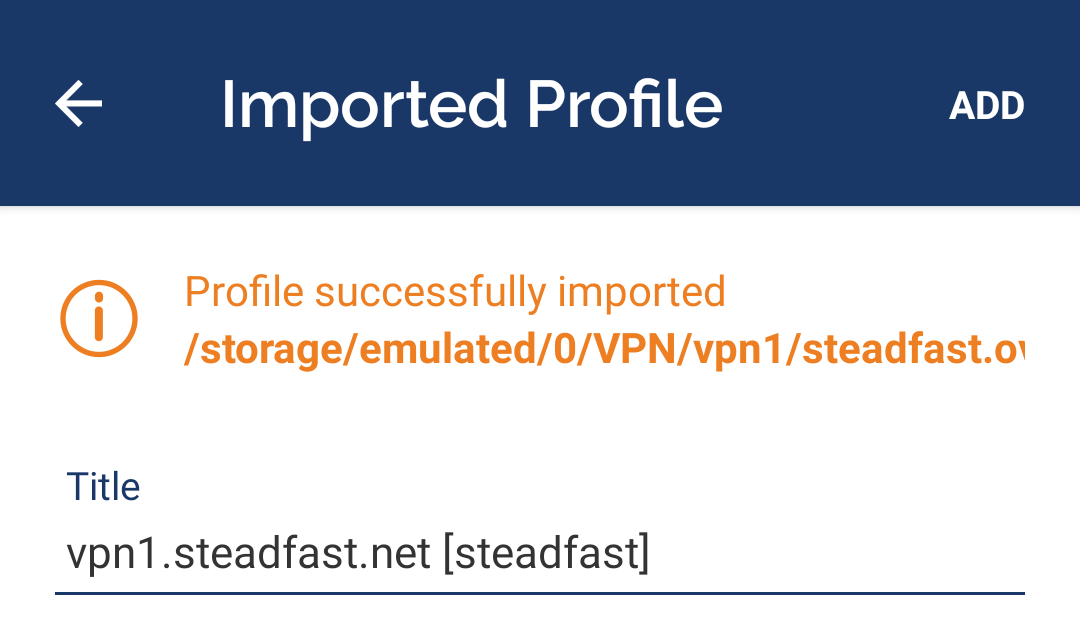
- Enter a name for the profile or accept the default and tap "ADD" in the upper right corner
To connect to the VPN, open the OpenVPN Connect app and tap the toggle switch for the VPN profile:

Once you have connected, the status indicator will show "CONNECTED" and the toggle switch will move to the right:

iOS Devices (9.0 or later)
Apple iOS 9.0 or later devices, including iPhones, iPads, and iPods should use the OpenVPN Connect app from the App Store.
- Go to the following link to install the app from your iOS device or a computer logged into your Apple account: https://itunes.apple.com/us/app/openvpn-connect/id590379981
- Open the ZIP file and copy the "steadfast.ovpn" file to your computer
- Using iTunes, select the File Sharing feature, click on "OpenVPN" and add the "steadfast.ovpn" file under "OpenVPN Documents"
- Once the "steadfast.ovpn" file is on your device, open the OpenVPN app
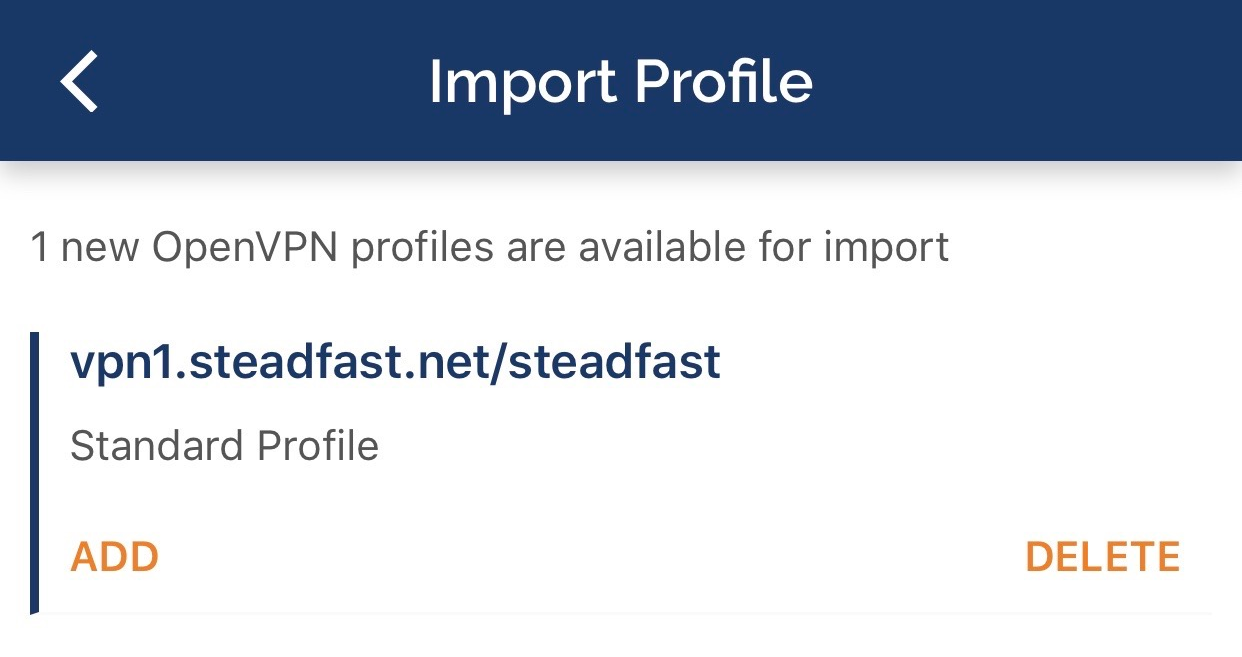
- You should see a message that there is 1 new OpenVPN profile available for import; tap the "ADD" button.
- Enter a name for the profile or accept the default and tap "ADD" in the upper right corner
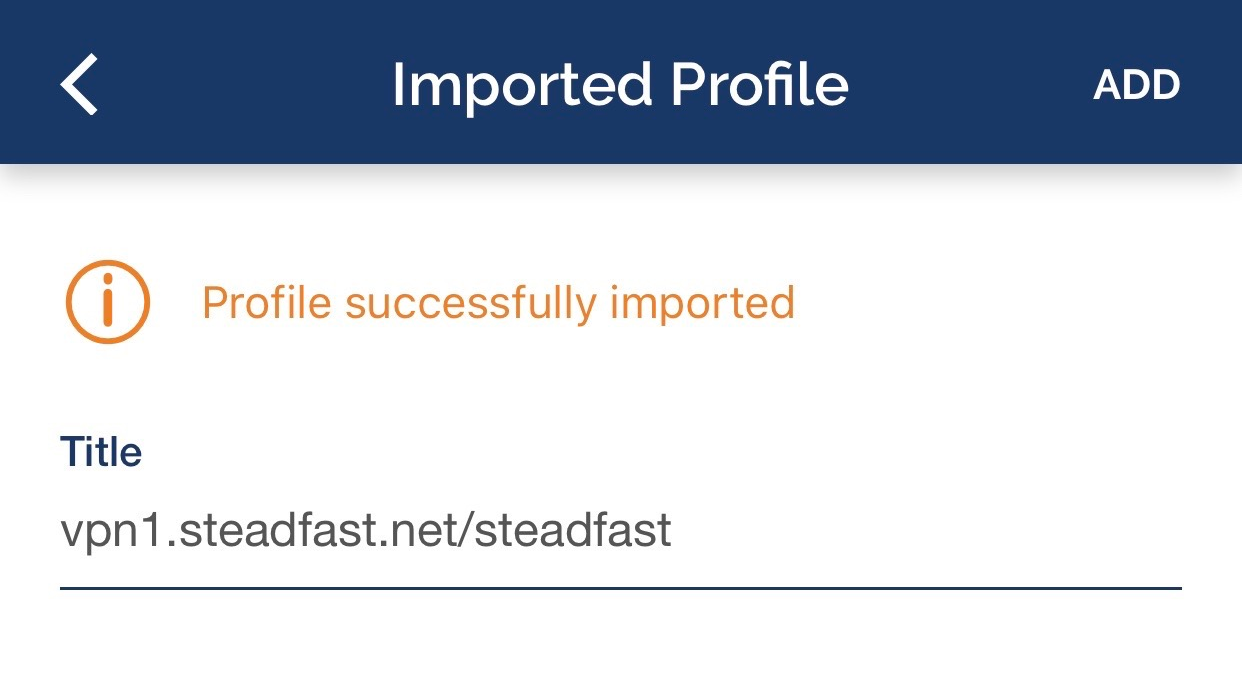
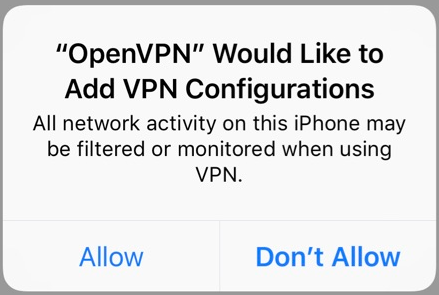
- You will see a notice that "OpenVPN" would like to add VPN Configurations; tap "Allow"
To connect to the VPN, open the OpenVPN Connect app and tap the toggle switch for the VPN profile:

Once you have connected, the status indicator will show "CONNECTED" and the toggle switch will move to the right:

Linux
On some GNU/Linux distributions, NetworkManager-openvpn provides an easy method to configure and run OpenVPN from within GNOME. Otherwise, try running the following command as root:
openvpn --config steadfast.ovpn
The openvpn package is standard on all Linux distributions, but you will need version 2.4.0 or later for full compatibility with our VPN service.
If using NetworkManager, you will need to use the individual certificate and key files contained in the ZIP file for connecting as NetworkManager does not yet support the "ovpn" configuration file format.
Contents of The ZIP File
- steadfast.ovpn - This is the primary OpenVPN configuration file. It includes the content of the files below. The other files are provided in case the application you are using does not support reading the certificate information directly from this configuration file.
- steadfastca.crt - This is a public certificate file used to verify the VPN and your personal certificate. It is used for the "ca" configuration option with OpenVPN.
- client1.crt - This is your personal public certificate file. It is used for the "cert" configuration option with OpenVPN.
- client1.key - This is your personal private key file. Authentication with the VPN is accomplished using this file. It is important that you keep this file secret. The file is used for the "key" configuration option with OpenVPN.
Testing the Connection
Once connected, you should be able to run:
ping 10.2.255.10
To run ping from Windows, run a Command Prompt (normally found under Accessories) or run cmd.exe Then select the resulting black box and type"ping 10.2.255.10" and press enter.
To run ping from Mac OS X, go to Applications, then Utilities and then select Terminal. Select the resulting terminal window and type"ping 10.2.255.10" and press enter.
If the ping is successful, you should see lines that begin with something similar to "64 bytes from 10.2.255.10" that are produced about once per second.